What Makes Ooey Gooey Bars Gluten-Free?
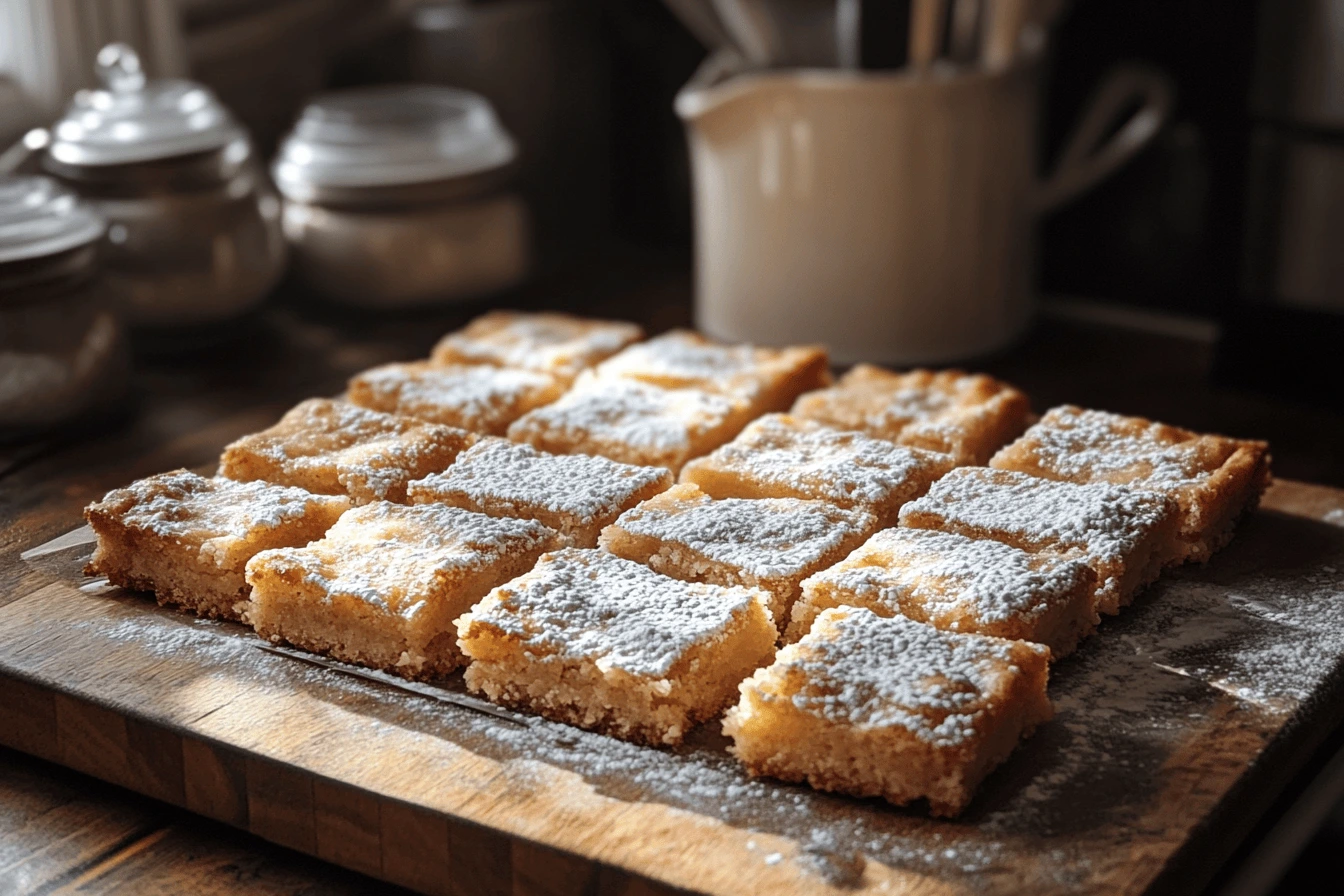
Defining the Irresistible Texture and Flavor
Ooey gooey bars gluten free recipe Isn’t just about a set of instructions; it’s about achieving a state of mind. It means creating a dessert that’s intensely sweet and wonderfully buttery. Moreover, it has this slight tang you can taste it in every bite, which makes you want to grab another one! Therefore, think of the center of a perfect butter cake – that’s the vibe we’re going for. Furthermore, this texture comes from the correct blend of butter, cream cheese, and sugar, which all must mix in perfect harmony.
The Challenges of Gluten-Free Baking
Now, here’s the catch. Usually, gluten helps give baked goods their structure. As a result, taking it out can leave things a bit… well, sad. Therefore, we need to be clever about how we replace that missing gluten. Consequently, getting that signature ooey gooey texture without wheat flour can be tricky, but it’s definitely achievable!
Key Gluten-Free Substitutions and Techniques
So, what’s the secret? Above all, it’s all about using the right gluten-free flour blend and mastering a couple of simple techniques. I will explain this further, but for now, let’s just say we’re replacing the wheat flour with a mix of gluten-free flours and adding a little something extra to help bind everything together.
Mastering the Gluten-Free Ooey Gooey Bars Ingredients List
Choosing the Right Gluten-Free Flour Blend
Listen, gluten-free flour can be a bit of a minefield. Some blends are gritty, while others are just plain weird. So, I always go for a blend that’s specifically designed for baking, especially one that includes rice flour, tapioca starch, and potato starch. These blends tend to mimic the texture of all-purpose flour really well. Likewise, you could also experiment with individual flours, but honestly, using a pre-made blend saves a lot of headaches.
Understanding Sweeteners: Sugars and Alternatives
Now, let’s talk sugar. The classic ooey gooey bar relies on a mix of powdered sugar, granulated sugar, and brown sugar to get that perfect level of sweetness and moisture. Moreover, powdered sugar helps create a smooth, creamy texture, while brown sugar adds a lovely molasses-like flavor. For those watching their sugar intake, you can try using alternative sweeteners like erythritol or stevia, but honestly, I’ve found they can sometimes mess with the texture. However, if you do go this route, just be sure to adjust the amounts accordingly.
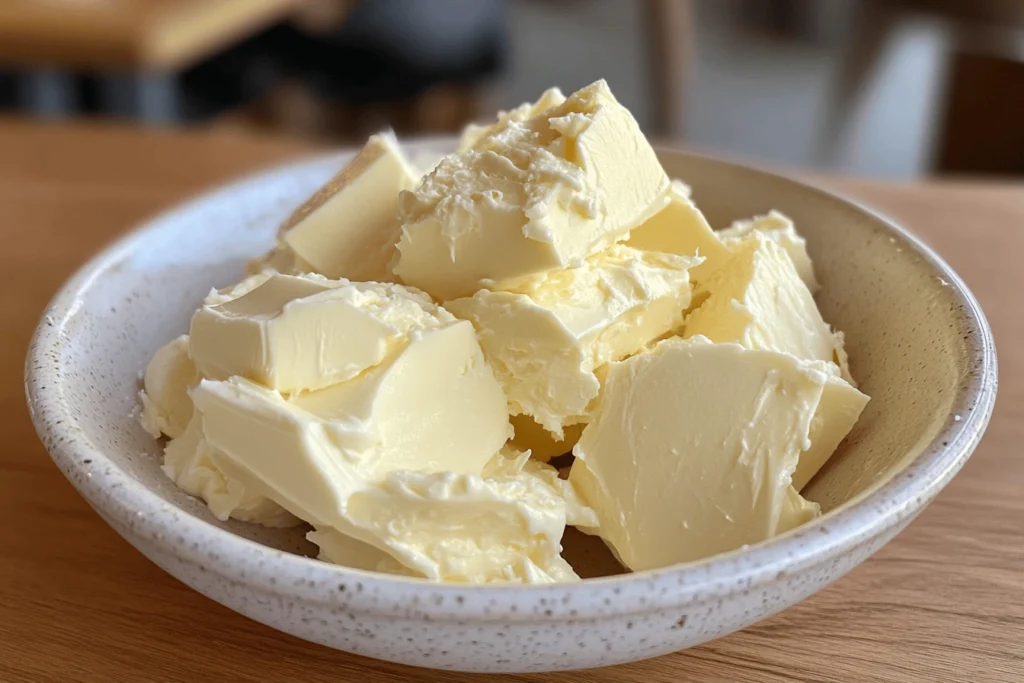
Dairy and Dairy-Free Swaps: Butter and Cream Cheese
I am going to be honest, butter and cream cheese are the heart and soul of ooey gooey bars. Additionally, they provide the richness and tang that make these bars so addictive. But, if you’re dairy-free, don’t worry! There are some great vegan butter and cream cheese alternatives out there. For example, Miyoko’s Kitchen Cultured Vegan Butter and Tofutti Better Than Cream Cheese are my go-to options. They work surprisingly well! Furthermore, just make sure your vegan butter is firm, not the spreadable kind.
Binding Agents: Eggs and Their Replacements
Okay, eggs are crucial for binding everything together. Not to mention, they also add moisture and richness. Nevertheless, if you can’t eat eggs, no problem! For example, flax eggs or applesauce work as great replacements. To make a flax egg, simply mix one tablespoon of ground flaxseed with three tablespoons of water and let it sit for about five minutes until it becomes gelatinous. Alternatively, a quarter cup of unsweetened applesauce can also do the trick. Therefore, just be aware that egg replacements can sometimes affect the final texture, so you might need to experiment a bit.
Flavor Boosters: Extracts and More
Finally, let’s talk about flavor! Vanilla extract is a must, in my book. Besides this, a little almond extract can also add a delightful, nutty flavor. Furthermore, you can get creative with other flavorings, too! For instance, lemon zest, cinnamon, or even a pinch of cardamom can elevate your gluten-free ooey gooey bars to a whole new level. Moreover, don’t be afraid to experiment!
Crafting the Perfect Gluten-Free Ooey Gooey Bar Dough
Mixing Up the Gluten-Free Crust Layer
Therefore, let’s begin with making the bottom part that holds everything together, the crust! I always like to think of it as a blank slate for the gooey goodness to come. Here’s my trick to get it just right: in addition, you’re going to combine your gluten-free flour blend, a bit of sugar, some cold butter (cubed, please!), and maybe a pinch of salt in a bowl.
Mixing Techniques: Avoiding Overmixing
Whatever you do, do not overmix the dough! Overmixing is the enemy of all baked goods, but it’s especially problematic with gluten-free stuff. As a result, when you overmix it, it can become tough. So, mix until just combined.
Pressing the Dough for Even Baking
Once your dough is ready, press it evenly into the bottom of your baking pan. Also, I usually use a 9×13 inch pan for this recipe. Pro tip: use the bottom of a measuring cup to really press it down and make sure it’s nice and uniform. Also, you’ll want to bake it for a little bit before adding the filling.
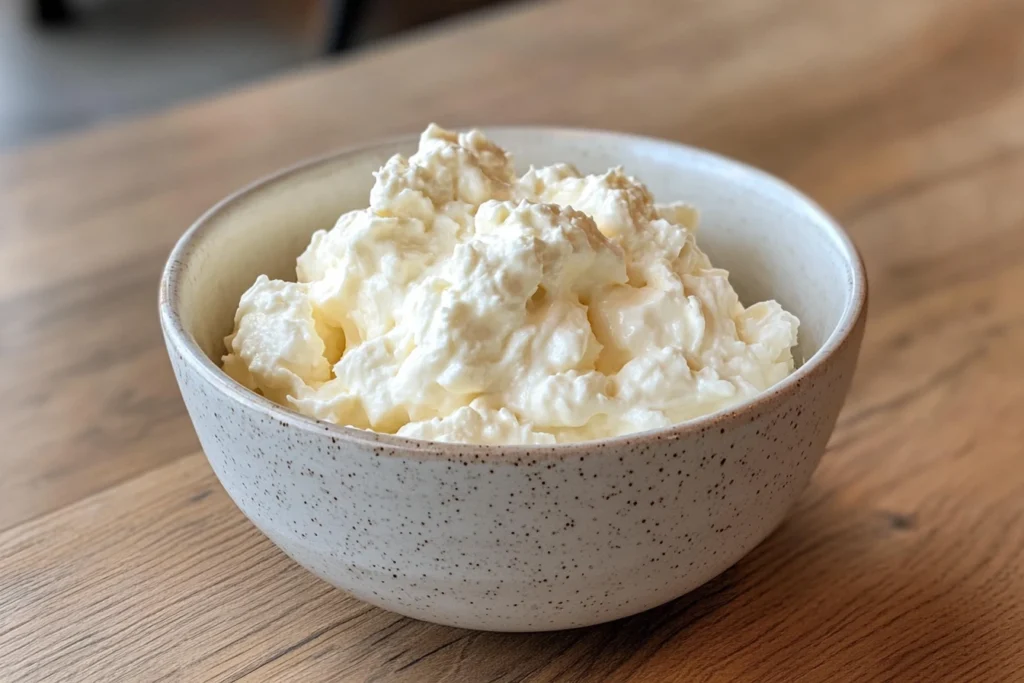
Creaming Butter and Cream Cheese for the Signature Filling
Alright, it is time for the star of the show: that ooey gooey filling. However, the first step is to cream together your softened butter and cream cheese until they’re light and fluffy. I will be honest, this step is crucial for getting that signature texture! Therefore, make sure your butter and cream cheese are at room temperature before you start. After this, if you have time, you can give them a little bit of mixing so they become fluffy and creamy.
Sweeteners and Flavorings: Creating the Magic
Next, you’re going to add in your sugars and flavorings. For the classic ooey gooey flavor, I usually go with a mix of powdered sugar and granulated sugar. In addition, don’t forget a generous splash of vanilla extract! Furthermore, mix everything together until it’s smooth and creamy. So, you can have that signature ooey gooey filling!
Assembling and Baking Your Dream Gluten-Free Ooey Gooey Bars
Spreading the Filling: Even Distribution is Key
Also, the time has come to assemble these bad boys! So, you’re going to take your par-baked crust and gently spread the filling evenly over the top. Make sure it reaches all the edges! In addition, nobody wants a bar that’s all crust and no goo.
Baking Temperature and Time: The Sweet Spot
Honestly, baking time can vary depending on your oven, but I usually bake my gluten-free ooey gooey bars at 350°F (175°C) for about 25-30 minutes. Moreover, you’ll want to keep an eye on them! So, it doesn’t end up burning.
Checking for Doneness: The Slight Jiggle Test
So, how do you know when they’re done? Moreover, the center should still have a slight jiggle to it. After this, they’ll continue to set up as they cool. In addition, if the edges are browning too quickly, you can tent the pan with foil to prevent them from burning.
Cooling for Optimal Texture
Whatever you do, resist the urge to cut into these bars while they’re still hot! They need to cool completely in the pan before you slice them.
Here is the recipe, so you can get all the details, to start making these awesome bars :
Ooey gooey bars gluten free recipe
Prep Time: 20 minutes
Cook Time: 25-30 minutes
Serves: 12-16 bars
Serving Size: 1 bar
Calories: Approximately 250-300 per bar (depending on ingredients)
Ingredients:
- For the Crust:
- 1 ½ cups gluten-free all-purpose flour blend
- ½ cup (1 stick) cold unsalted butter, cut into cubes
- ¼ cup granulated sugar
- ¼ teaspoon salt
- For the Filling:
- 8 ounces cream cheese, softened
- ½ cup (1 stick) unsalted butter, softened
- 2 cups powdered sugar
- 1 large egg
- 1 teaspoon vanilla extract
Instructions:
- Preheat your oven to 350°F (175°C). Grease and flour a 9×13 inch baking pan with gluten-free flour.
- Make the Crust: In a large bowl, combine the gluten-free flour, sugar, and salt. Cut in the cold butter using a pastry blender or your fingers until the mixture resembles coarse crumbs.
- Press the Mixture: Press the crumb mixture evenly into the bottom of the prepared baking pan.
- Bake the Crust: Bake for 15 minutes, or until lightly golden.
- Make the Filling: While the crust is baking, prepare the filling. In a large bowl, beat together the softened cream cheese and butter until smooth and creamy.
- Add Sweeteners and Flavor: Gradually add the powdered sugar, mixing until well combined. Beat in the egg and vanilla extract until smooth.
- Pour Filling Over Crust: Pour the cream cheese mixture over the pre-baked crust, spreading evenly.
- Bake the Bars: Bake for 25-30 minutes, or until the edges are set and the center is slightly jiggly.
- Cool Completely: Let the bars cool completely in the pan before cutting into squares.
Tips:
- Make sure your butter and cream cheese are fully softened for a smooth filling.
- Don’t overbake! The center should be slightly jiggly when you take them out of the oven.
- For extra flavor, add a pinch of almond extract to the filling.
Tips for Achieving the Perfect Gooey Texture in Gluten-Free Bars
Ingredient Ratios: The Key to Success
Firstly, let’s talk proportions. Too much flour, and your bars will be dry. Too much liquid, and they’ll be soggy. So, I have found that the perfect ratio is a little less flour than you’d think. I would try to use 1 1/2 cup, instead of 2 cups of flour.
Preventing Dry or Crumbly Texture
Therefore, there’s nothing sadder than a dry, crumbly gluten-free dessert. Moreover, to avoid this tragedy, I always add a little extra moisture to my gluten-free baked goods. This could be in the form of an extra egg yolk, a tablespoon of sour cream, or even a splash of milk. So, I would suggest to add two egg yolks instead of one. I have found that it does wonders!
Oven Temperature and Baking Time
Now, let’s talk baking time. For instance, overbaking is the quickest way to dry out any dessert, but it’s especially unforgiving with gluten-free stuff. In addition, I recommend baking these bars at a slightly lower temperature—350°F (175°C) is ideal—and keeping a close eye on them. Also, they’re done when the edges are set and the center is still slightly jiggly.
Common Reasons and Solutions for Gumminess
Okay, let’s address the elephant in the room: gumminess. After this, gumminess happens when the starches in gluten-free flour don’t cook properly. Therefore, to prevent this, try reducing the amount of starch in your flour blend.
Troubleshooting Common Issues with Gluten-Free Ooey Gooey Bars
Dry Bars: Solutions and Prevention
Therefore, if your bars are coming out dry, don’t despair! Besides this, there are a few things you can try. For example, try adding an extra egg yolk to the batter or increasing the amount of butter or cream cheese. Moreover, be sure not to overbake them.
Gummy Bars: Adjustments and Causes
If your bars are too gummy, then consider reducing the amount of starch in your gluten-free flour blend. Also, make sure you’re not overmixing the batter.
The “Not Gooey Enough” Fix
Honestly, if your bars aren’t ooey gooey enough, then try increasing the amount of cream cheese and butter in the filling. Also, make sure you’re using full-fat cream cheese.
Delicious Variations on Your Gluten-Free Ooey Gooey Bar Recipe
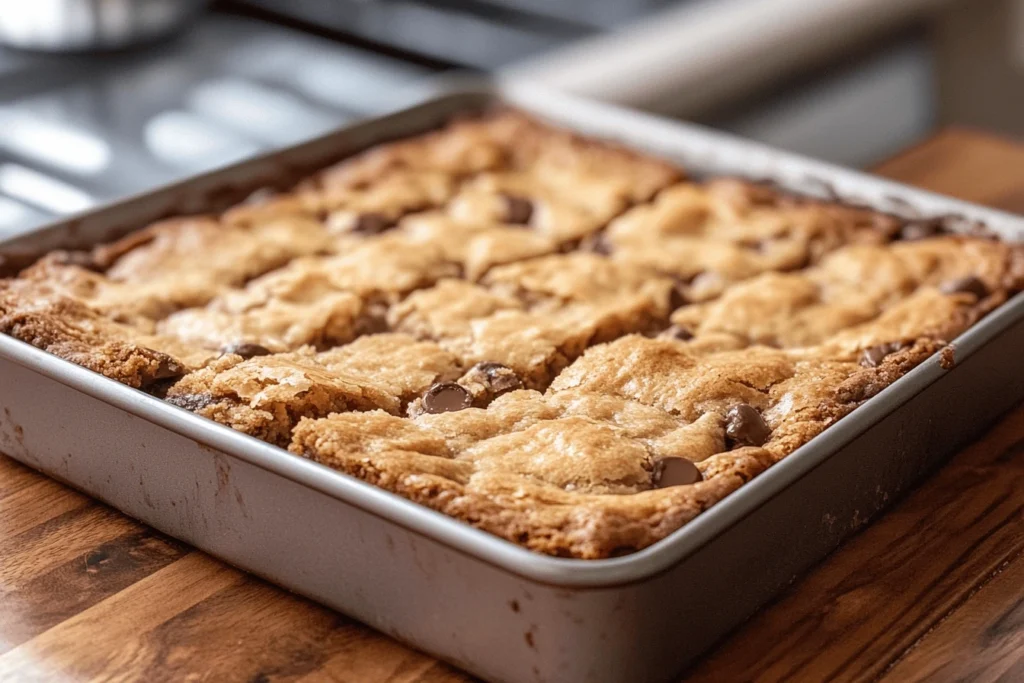
Chocolate Chip Gluten-Free Ooey Gooey Bars
First, who doesn’t love chocolate chips? In addition, simply stir a cup of your favorite gluten-free chocolate chips into the filling before baking. Moreover, you can also sprinkle some on top for extra chocolatey goodness!
Lemon Gluten-Free Ooey Gooey Bars
Now, if you’re a fan of citrus, these bars are for you! Furthermore, add the zest and juice of one lemon to the filling. Therefore, it will give them a bright, tangy flavor that’s absolutely irresistible.
Peanut Butter Gluten-Free Ooey Gooey Bars
Finally, for all the peanut butter lovers out there, this one’s a game-changer. Also, simply swirl a half cup of peanut butter into the filling before baking. Also, you can even add some chopped peanuts on top for a little crunch!
Serving and Storing Your Gluten-Free Ooey Gooey Bar Masterpiece
Serving Suggestions: Warm or Chilled
These bars are delicious served warm, straight from the oven. Moreover, they’re also amazing chilled! Therefore, I recommend storing them in the fridge for a few hours before serving for a more decadent treat. Also, I love to serve mine with a scoop of vanilla ice cream or a dollop of whipped cream.
Storage Recommendations: Fridge or Counter?
As a result, you want to keep these bars as fresh as possible. In addition, I recommend storing them in an airtight container in the fridge.
Shelf Life: How Long Do They Last?
Finally, these bars will last for about 3-4 days in the fridge. I will be honest, they never last that long in my house. In addition, you can also freeze them for longer storage!
Secrets to Moist Gluten-Free Baking: Beyond Ooey Gooey Bars
Using Yogurt, Sour Cream, or Applesauce
Okay, here’s a pro tip: add a little yogurt, sour cream, or applesauce to your gluten-free baked goods. It gives them a boost of moisture! Therefore, I often substitute a quarter cup of the liquid in a recipe with one of these ingredients.
Adding Extra Liquid
Moreover, if you’re finding that your gluten-free baked goods are consistently dry, then try adding an extra tablespoon or two of liquid to the batter. In addition, this can be milk, water, or even a little bit of oil.
Avoiding Overbaking is Important
Finally, I have said this before, and I’ll say it again: do not overbake! Overbaking is the enemy of moist baked goods. Therefore, keep a close eye on your oven! Furthermore, use a toothpick to check for doneness. Also, if it comes out clean, they’re done!
Are Store-Bought Gooey Butter Cakes Gluten-Free?
Checking Popular Brands’ Gluten-Free Status
So, you might be wondering if you can just buy a gooey butter cake from the store that is gluten-free. Also, it depends on the brand. However, most traditional gooey butter cakes are not gluten-free.
Reading Ingredient Labels: A Must
The only way to know for sure if a store-bought gooey butter cake is gluten-free is to carefully read the ingredient label. Furthermore, look for the words “gluten-free” on the packaging. Also, be wary of products that simply say “wheat-free,” as they may still contain gluten.
Homemade vs. Store-Bought: The Control Factor
Moreover, one of the biggest benefits of making your own gluten-free gooey butter cake is that you have complete control over the ingredients. In addition, you can use high-quality, gluten-free ingredients and avoid any unwanted additives.
Enjoying Your Guilt-Free Gluten-Free Ooey Gooey Bar Indulgence
Finally, you’ve made it! I am sure you made the best gluten-free ooey gooey bars. So, now, you can sit back, relax, and enjoy your delicious, gluten-free treat. Therefore, I am pretty sure, that your friends and family will love it.
Frequently Asked Questions About Gluten-Free Ooey Gooey Bars
Is Jeni’s Gooey Butter Cake Gluten-Free?
Unfortunately, no. However, Jeni’s Splendid Ice Creams’ Gooey Butter Cake ice cream is not gluten-free. It contains wheat flour. In addition, if you’re looking for a gluten-free alternative, I recommend trying my recipe above!
How to Make Gluten-Free Baked Goods Moist?
In addition, you can add yogurt or sour cream. Moreover, you can add extra liquid. Also, do not overbake your bars. These are the best ways to make gluten-free baked goods moist.
Why Did My Gluten-Free Cake Turn Out Gummy?
Also, gummy gluten-free cake is often the result of too much starch in your flour blend or overmixing the batter. Moreover, try reducing the amount of starch and mixing until just combined.
Should Ooey Gooey Bars Be Refrigerated?
I recommend storing ooey gooey bars in the refrigerator to maintain their freshness. Honestly, they taste delicious chilled!